Introduction
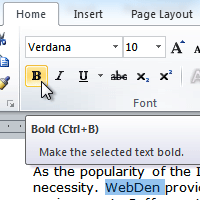
In this lesson, you'll learn to format the font size, style, and color; highlight the text; and use the bold, italic, underline, and change case commands.
Formatting text
Video: Formatting Text in Word 2010
Optional: You can download this example for extra practice.
To change the font size:
- Select the text you want to modify.
- Click the drop-down arrow next to the Font Size box on the Home tab. A drop-down menu appears.
- Select the desired font size from the menu. Alternatively, you can type the value you want and then press Enter on your keyboard.

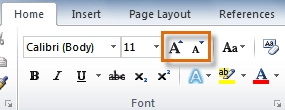
You can also use the Grow Font and Shrink Font commands to change the size.
To change the font:
- Select the text you want to modify.
- Click the drop-down arrow next to the Font box on the Home tab. The Font drop-down menu appears.
- Move the mouse pointer over the various fonts. A live preview of the font will appear in the document.
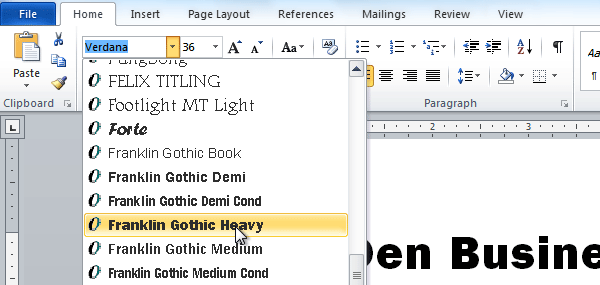
- Select the font you want to use. The font will change in the document.
To change the font color:
- Select the text you want to modify.
- Click the Font Color drop-down arrow on the Home tab. The Font Color menu appears.
- Move the mouse pointer over the various font colors. A live preview of the color will appear in the document.
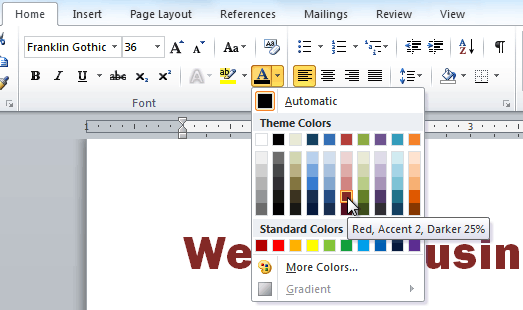
- Select the font color you want to use. The font color will change in the document.
Your color choices aren't limited to the drop-down menu that appears. Select More Colors at the bottom of the list to access the Colors dialog box. Choose the color you want, then click OK.
To highlight text:
- From the Home tab, click the Text Highlight Color drop-down arrow. The Highlight Color menu appears.
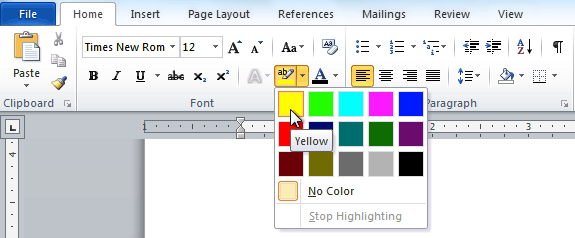
- Select the desired highlight color.
- Select the text you want to modify. It will then be highlighted.

- To switch back to the normal cursor, click the Text Highlight Color command.
To use the bold, italic, and underline commands:
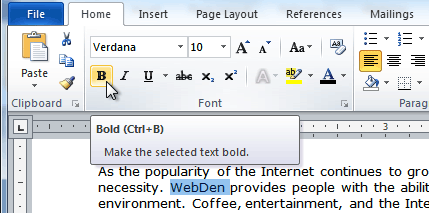
- Select the text you want to modify.
- Click the Bold, Italic, or Underline command in the Font group on the Home tab.
To change text case:
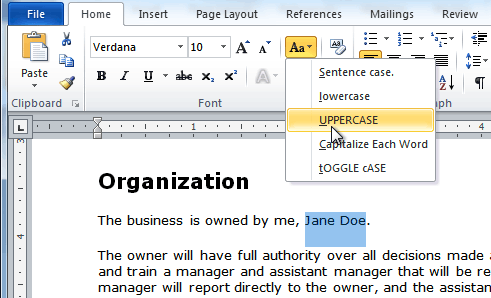
- Select the text you want to modify.
- Click the Change Case command in the Font group on the Home tab.
- Select the desired case option from the list.
To change text alignment:
- Select the text you want to modify.
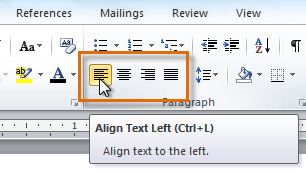
- Select one of the four alignment options from the Paragraph group on the Home tab.
- Align Text Left: Aligns all selected text to the left margin
- Center: Aligns text an equal distance from the left and right margins
- Align Text Right: Aligns all selected text to the right margin
- Justify: Aligns text equally on both sides and lines up equally to the right and left margins; used by many newspapers and magazines
You can use Word's convenient Set as Default feature to save all of the formatting changes you've made and automatically apply them to new documents. To learn how to do this, read our article on Changing Your Default Settings in Word.
Challenge!
- Open an existing Word document. If you want, you can use this example.
- Change the font size of some text.
- Change the font style of some text.
- Change the font color of some text.
- Try various cases using the Change Case command.
- Try the four alignment commands.
- Save the document.


0 comments:
Post a Comment